Tomos A35 Sprockets & Chain Replacement tutorial
Replacing Tomos Sprockets and Chain
Tomos Gear Ratios
Want quicker acceleration or a higher top speed? Adjusting the gear ratio is a cheap and easy way to make your Tomos faster. In this video and blog, you'll learn the basics of gear ratios and how to adjust them to get the results you want.
Want to know more about the details of gear ratios? Then read this blog about Tomos gear ratios.
Tools and Preparation
Required Parts and Tools
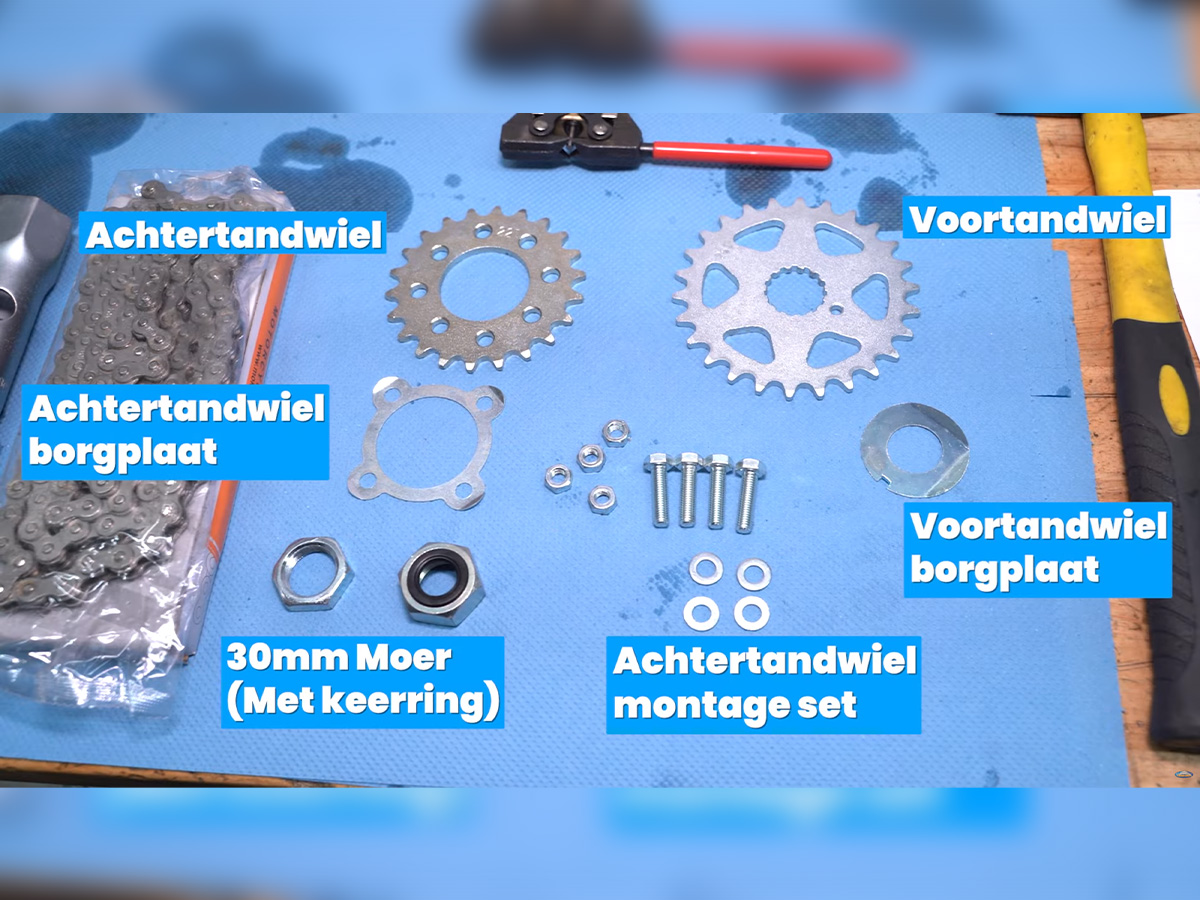
- Sprocket and chain set
- Rear sprocket locking plate
- Rear sprocket mounting set
- Front sprocket nut
- Front sprocket locking plate
- 30mm socket wrench
- Chain breaker
Wear on the Sprockets
It's important to recognize when the sprockets on your Tomos are worn so your bike keeps running properly. Here are a few simple tips to check if they need replacing.
Tip: Replace the chain and sprockets at the same time, as they wear into each other.
How to Spot Wear?
- Thin or sharp teeth: If the teeth on the sprockets are thin or sharp, they are worn out.
- Crooked sprockets: If the sprockets are misaligned, they may be weak and need replacing.
- Frequent chain tightening: If you frequently have to tighten the chain, it might be worn out.
Disassembling Sprockets and Chain
Removing Sprockets
Removing the Front Sprocket
- Bend the locking plate straight to unlock the bolt.
- Loosen the bolt with a 30mm socket (60Nm). You'll need to block the sprocket for this. By keeping the chain mounted, you can block the front sprocket using the rear wheel. You can block the rear wheel by sitting on the moped or placing a stick through the rim.
- Pull the front sprocket off the shaft and check for wear.
Removing Rear Wheel, Sprocket and Chain
- Remove chain: Use pliers to detach the master link. (See video 2:25).
- Detach brake cable: Loosen the bolt on the brake plate that holds the cable and carefully pull the cable out of the holder.
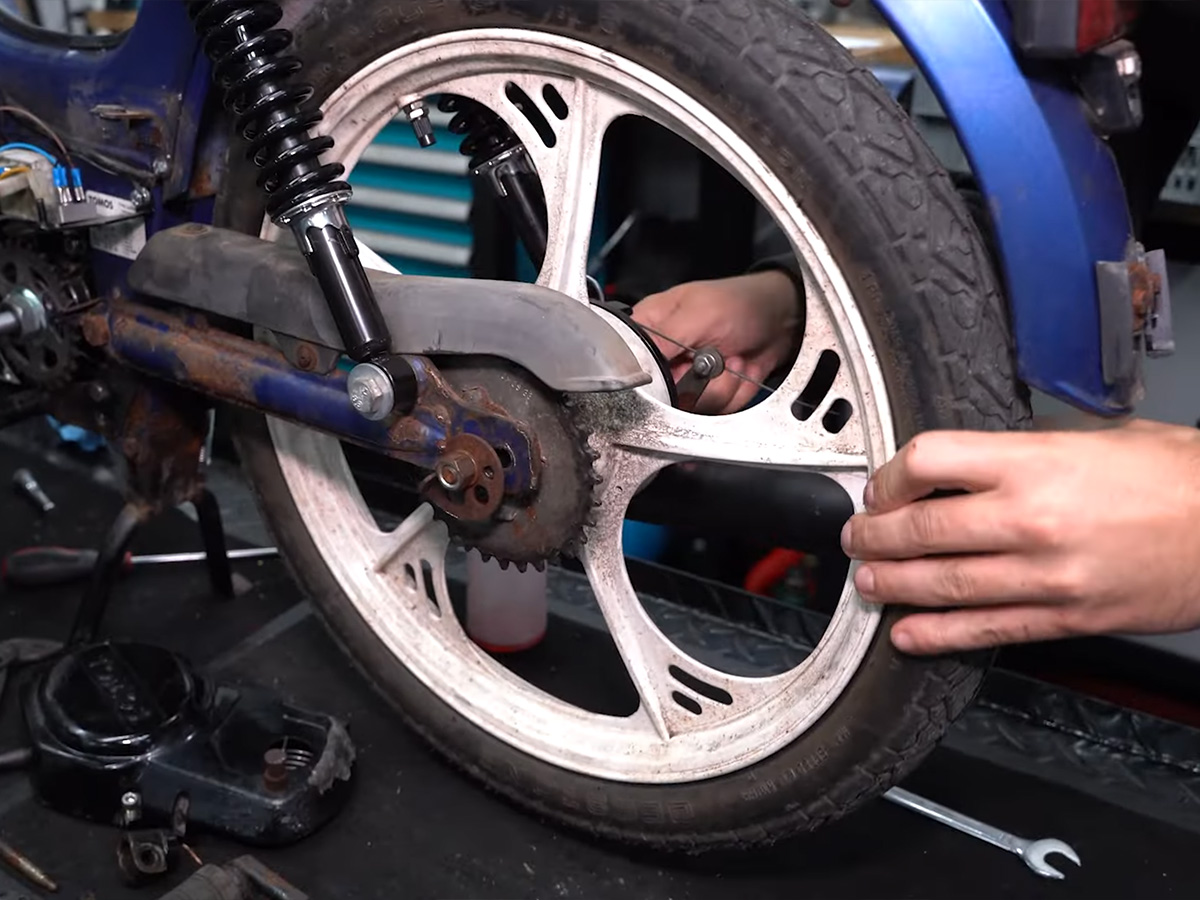
- Rear swingarm: Loosen the nuts on the axle with two wrenches and slide the rear wheel out of the swingarm.
- Rear sprocket: First tap the locking plate loose so you can remove the 4 bolts. Carefully pull or tap the sprocket off the rim.
Tip: Remember the position of each washer on the axle. Take a photo or lay the washers out in order.
Installation
Installing the Front Sprocket
- Place the new sprocket on the shaft.
- Install new lock ring and nut, and bend the lock ring to secure it.
Tips: Always check that all parts are secure before riding. Use a nut with a sealing ring for better sealing.
Installing New Sprockets
Selecting the Right Sprocket Size
A larger rear sprocket increases torque, offering more pulling power, while a smaller one increases top speed but reduces torque.
Larger = More torque, lower top speed
Smaller = Less torque, higher top speed
In this guide: rear sprocket with 22 teeth & front sprocket with 26 teeth.
Installing Rear Sprocket
- Bend locking ring straight.
- Remove bolts and nuts.
- Install new sprocket and secure with new bolts, nuts, and locking plate.
Additional tips: Check bearings and grease the shaft before assembly.
How to Replace a Tomos Chain?
Step 1: Remove Master Link and Chain
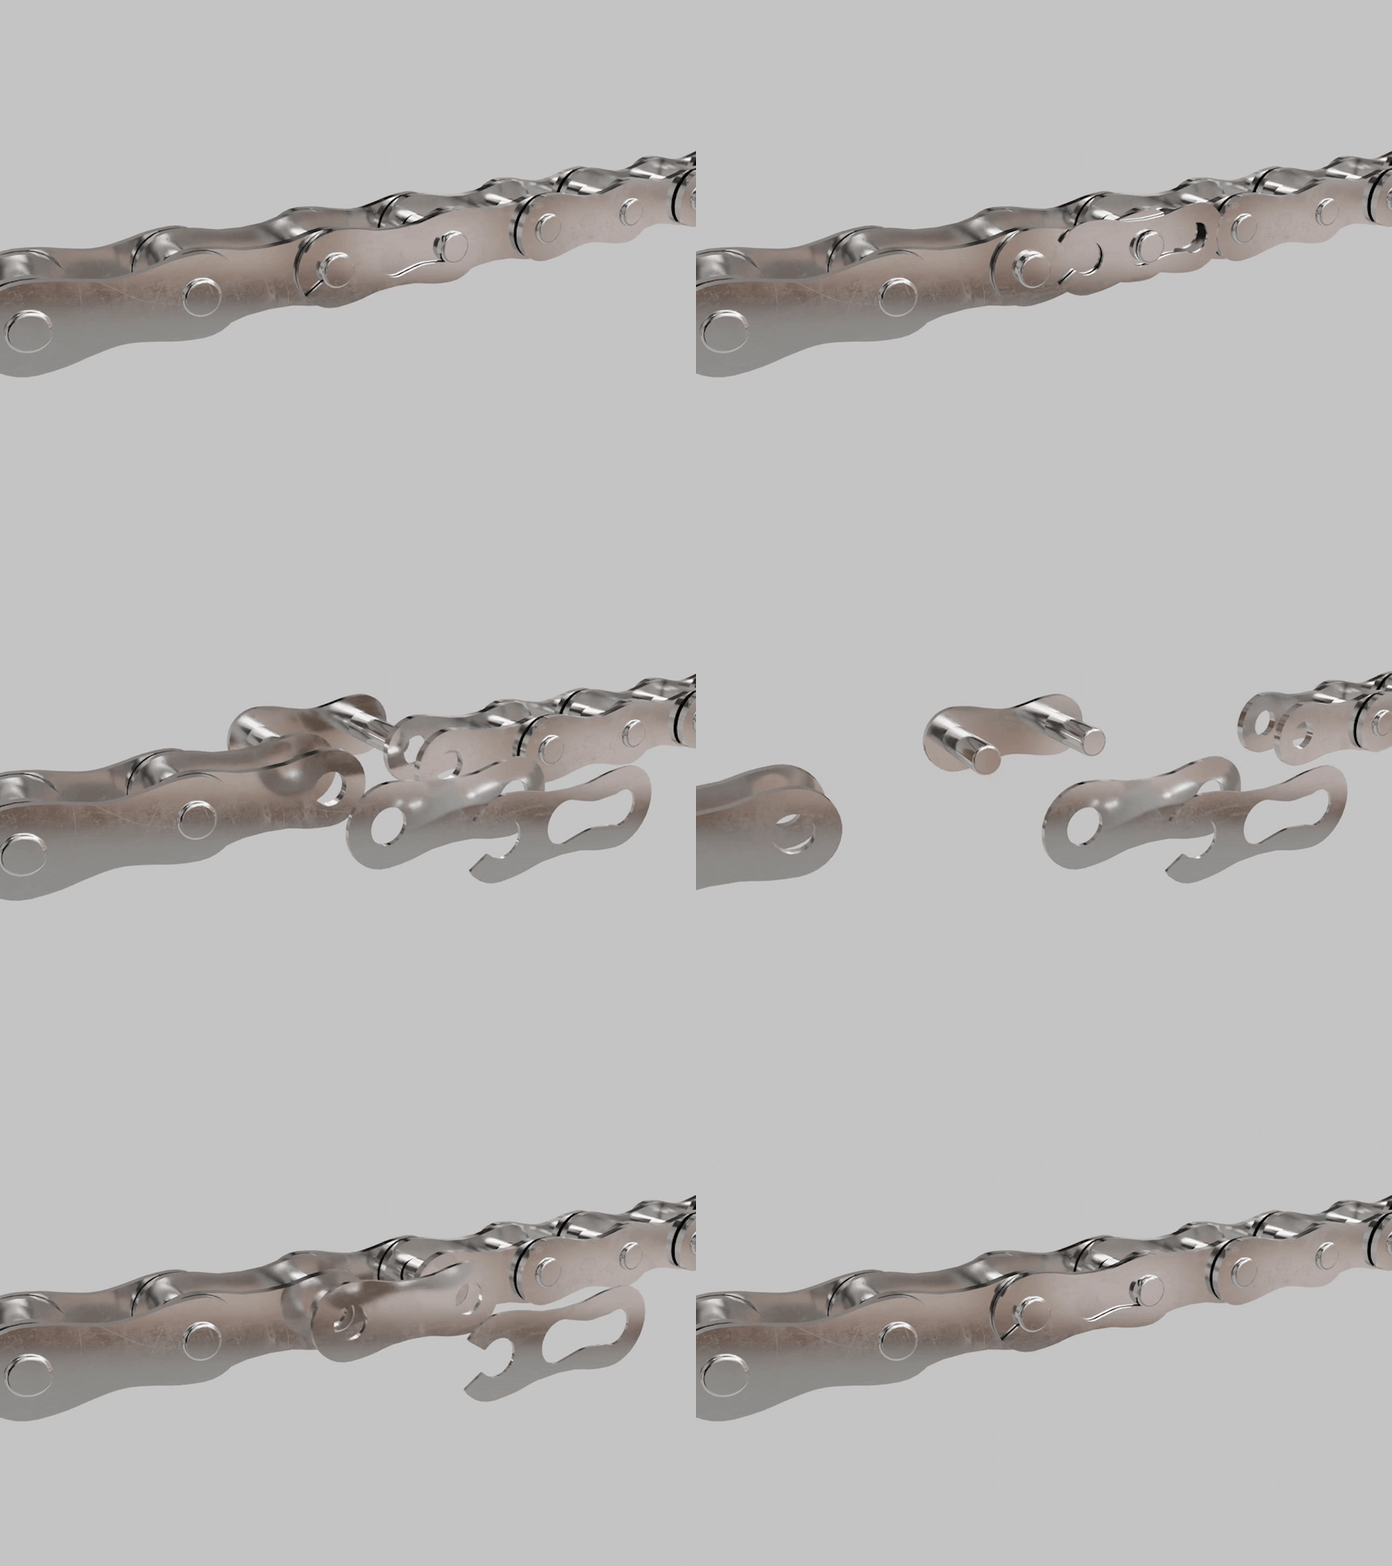
Want to remove the moped chain? Start by rotating the rear wheel until you find the master link. This clip connects the chain ends and can be removed easily with pliers. Clean the clip first to improve grip and avoid slipping with your tools. Once removed, reattach it to the chain so you don't lose it. With the clip off, you can fully remove the chain from your moped.
Step 2: Determine New Chain Length
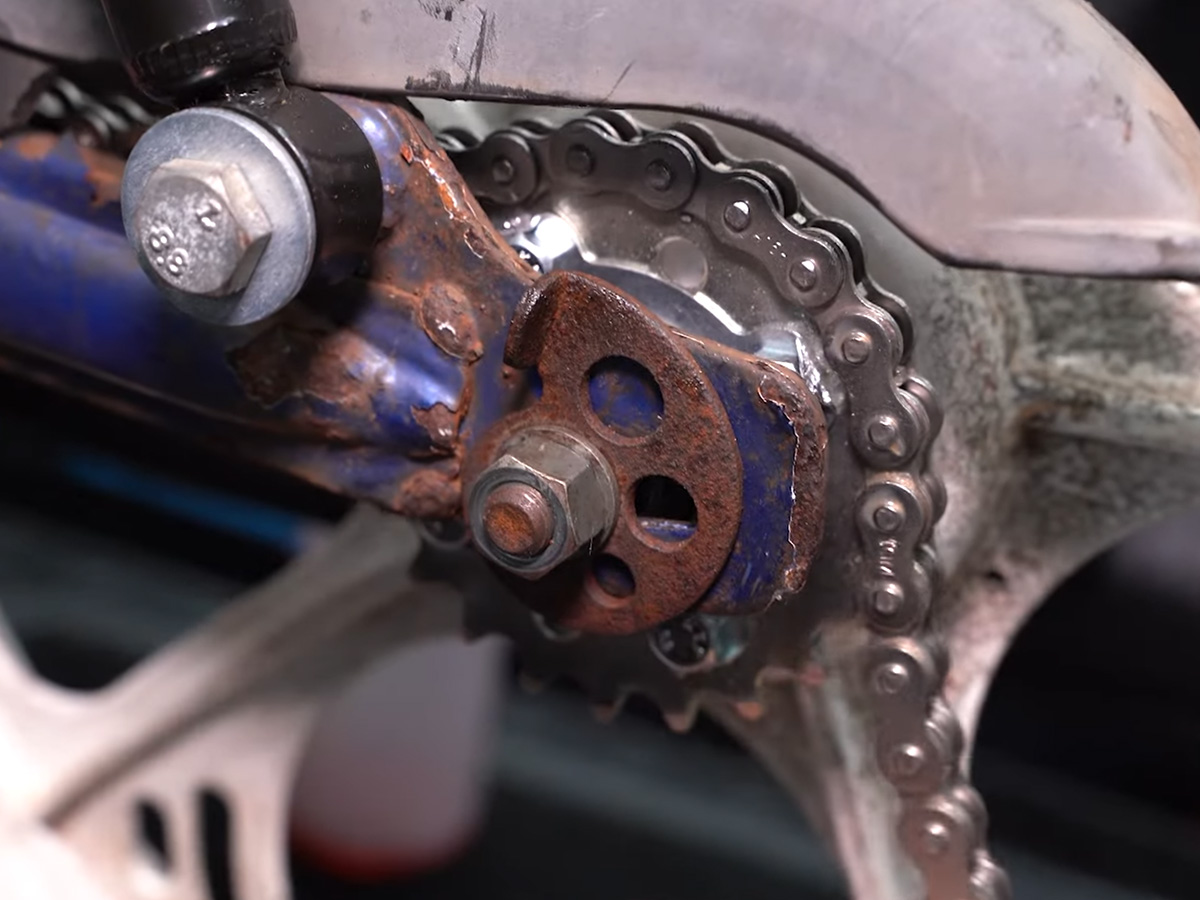
Start by loosening the chain tensioners to their loosest setting. This gives you enough room to install the new chain. Drape the chain over both the front and rear sprockets. Note: new chains are typically too long and must be cut to size. Determine how many links or segments to remove for the correct length. Pull the chain tight over the sprockets and mark the point where it needs shortening.
Step 3: Shorten Chain with Chain Breaker
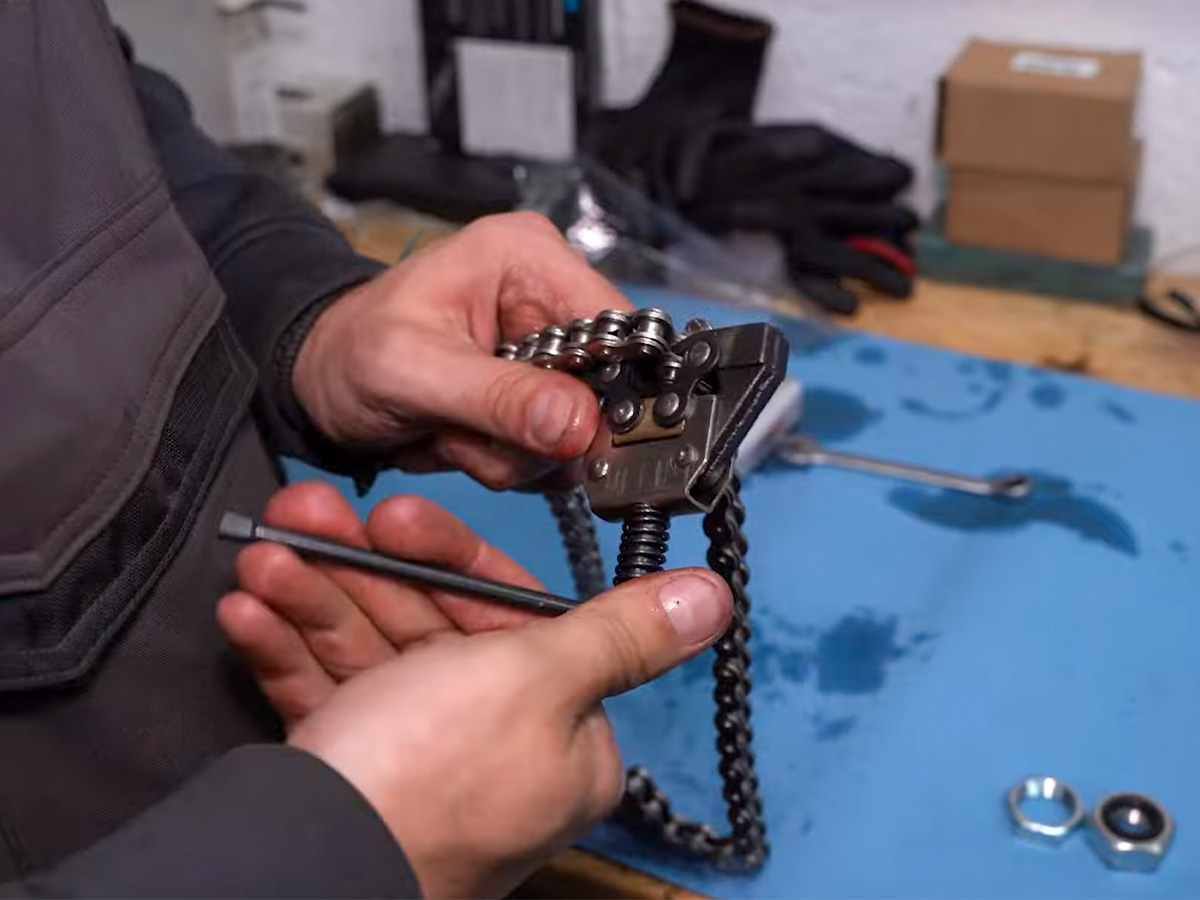
If you want to size the chain properly, we recommend using a chain breaker. This prevents damage to the links and ensures precision. Place the chain breaker on the pin of the marked link you want to remove. Then firmly turn the tool until the pin is fully pushed out. This might take some force, especially with thicker or reinforced chains, but results in a clean and safe removal.
Step 4: Mount and Tension New Chain
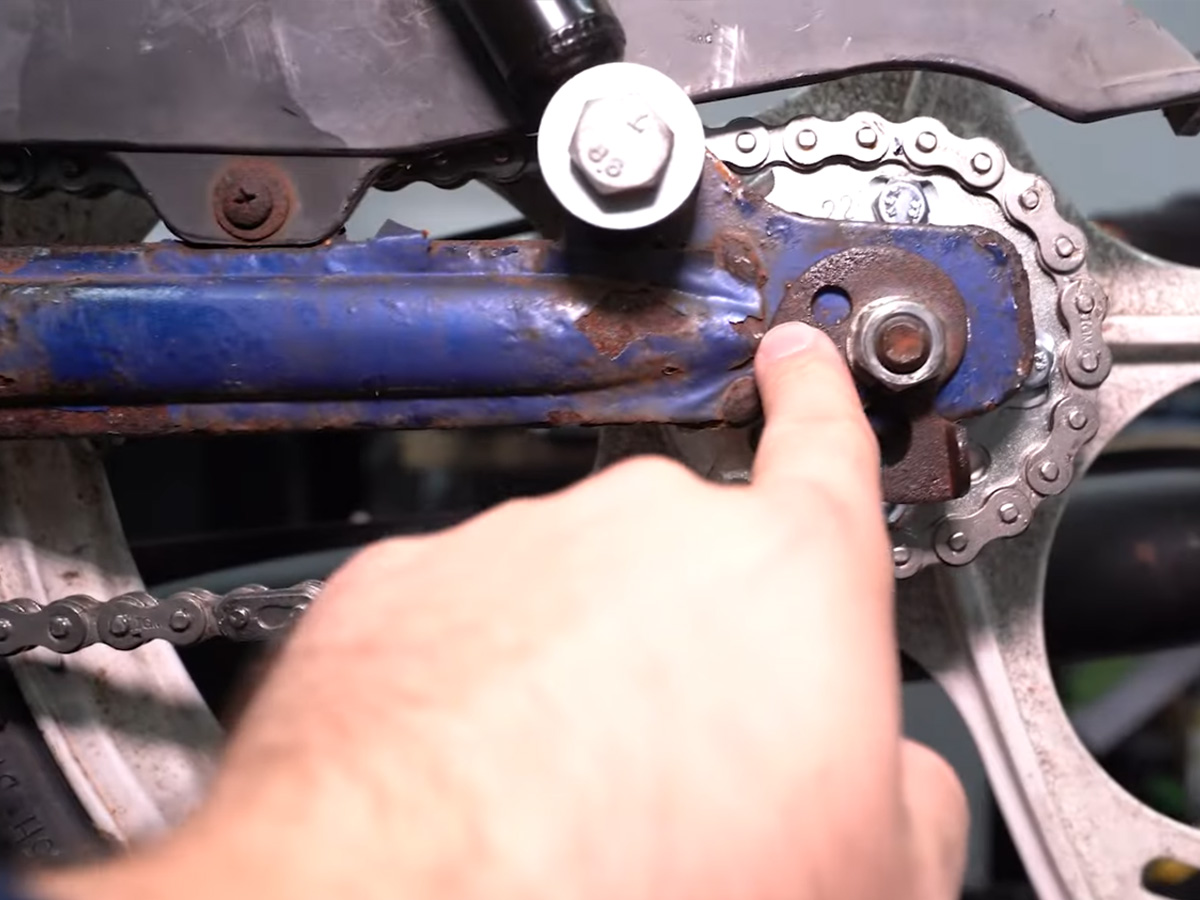
Now that your chain is the right length, it's time to mount it. Use the master link to connect the ends, just like when removing it. Make sure to install the clip in the direction of chain rotation. This helps prevent it from coming loose during riding. After installation, the chain will likely hang loose. Simply tighten it using the chain tensioners on your rear axle. Tighten the chain until there is about 2 cm of slack. A properly tensioned chain ensures longer life and smoother rides. Note: a new chain may stretch a little during the first few rides. Regularly check tension and adjust as needed. This prevents excessive wear on the sprockets and keeps your moped performing optimally.
Post-Installation Maintenance
Regularly Check Chain Tension
Why? Prevents loosening or extra wear.
How? Press in the middle of the chain and measure ~2 cm slack.
When? Every month or more often.
Cleaning the Chain
- Use chain cleaner or degreaser and a brush.
- Rinse with water and let dry.
Lubricating the Chain
- Apply chain spray or oil while rotating the wheel.
- Avoid over-lubricating to prevent dirt build-up.
When? After cleaning or once a month, depending on riding conditions.


